Read each step, look at the picture, and fill in the missing words. When you click Check Answers, you’ll see which blanks are correct. If you get all blanks in a step right, extra tips for that step will appear.

Step 1 – Prepare the Hair
Start with hair that is and free of . Gather the hair at the of the head and divide it into equal sections.
Step 2 – First Cross
Hold one section in your hand, one in your hand, and let the section rest between them. Cross the section over the so it becomes the new center.

Step 3 – Second Cross
Now take the section and cross it over the . Gently the braid by pulling each section .
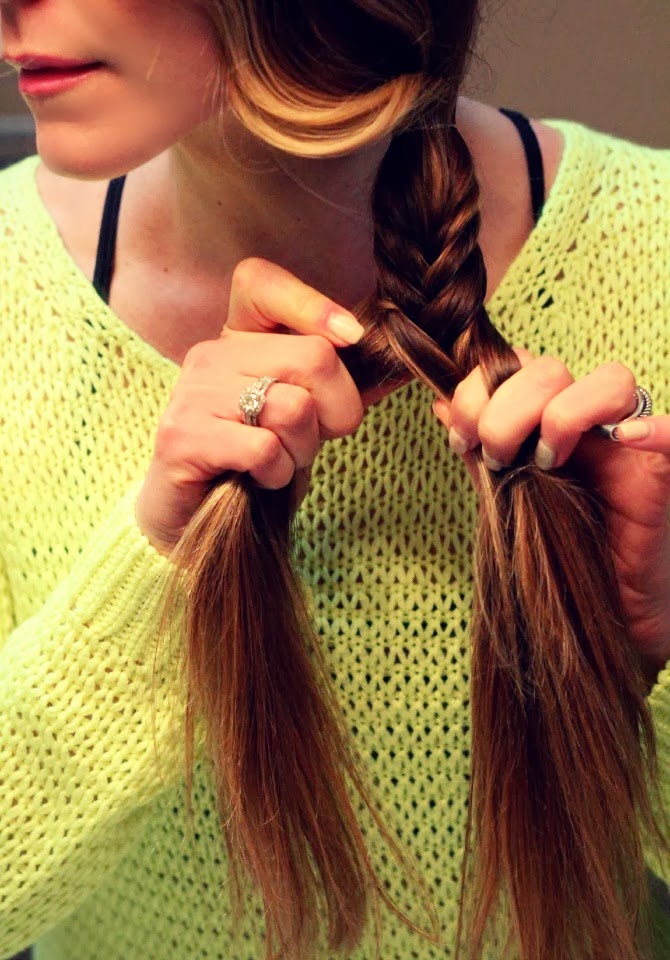
Step 4 – Repeat the Pattern
Keep repeating the pattern: cross the section over the , then cross the section over the . Continue until you reach the of the hair.
Step 5 – Secure and Smooth
When you reach the bottom, hold all three sections together and secure them with a . Gently on the sides of the braid to make it look or leave it tight for a more look.